
Orchids have a bit of a reputation, don’t they? Exotic. Mysterious. One wrong look and they drop every flower. But here’s the truth: orchids are remarkably resilient, and repotting one is nowhere near as dramatic as it sounds.
You just need to know what you’re doing — which is exactly what this guide is for.
When Should You Repot an Orchid?
Most orchids — and we’re talking about the common Phalaenopsis (moth orchid) that lives on every windowsill in Britain — need repotting every 18 to 24 months. A few signs that’ll tell you it’s time before the calendar does:
- Roots are escaping out the bottom of the pot or climbing up over the rim
- The bark or compost has broken down into a soggy, dark mush
- Your orchid keeps tipping over because the top growth is heavier than the pot
- It hasn’t flowered in ages despite good light and watering
- You can see the roots circling the inside of the pot with nowhere left to go
One thing to note: don’t repot while it’s actively flowering. Wait until the blooms have dropped — your orchid will thank you for the patience.
What You’ll Need
- A new pot — one size up from the current one (orchids like to be slightly snug)
- Fresh orchid bark or specialist orchid compost — not standard potting compost
- Clean scissors or a sharp knife
- A bowl of lukewarm water
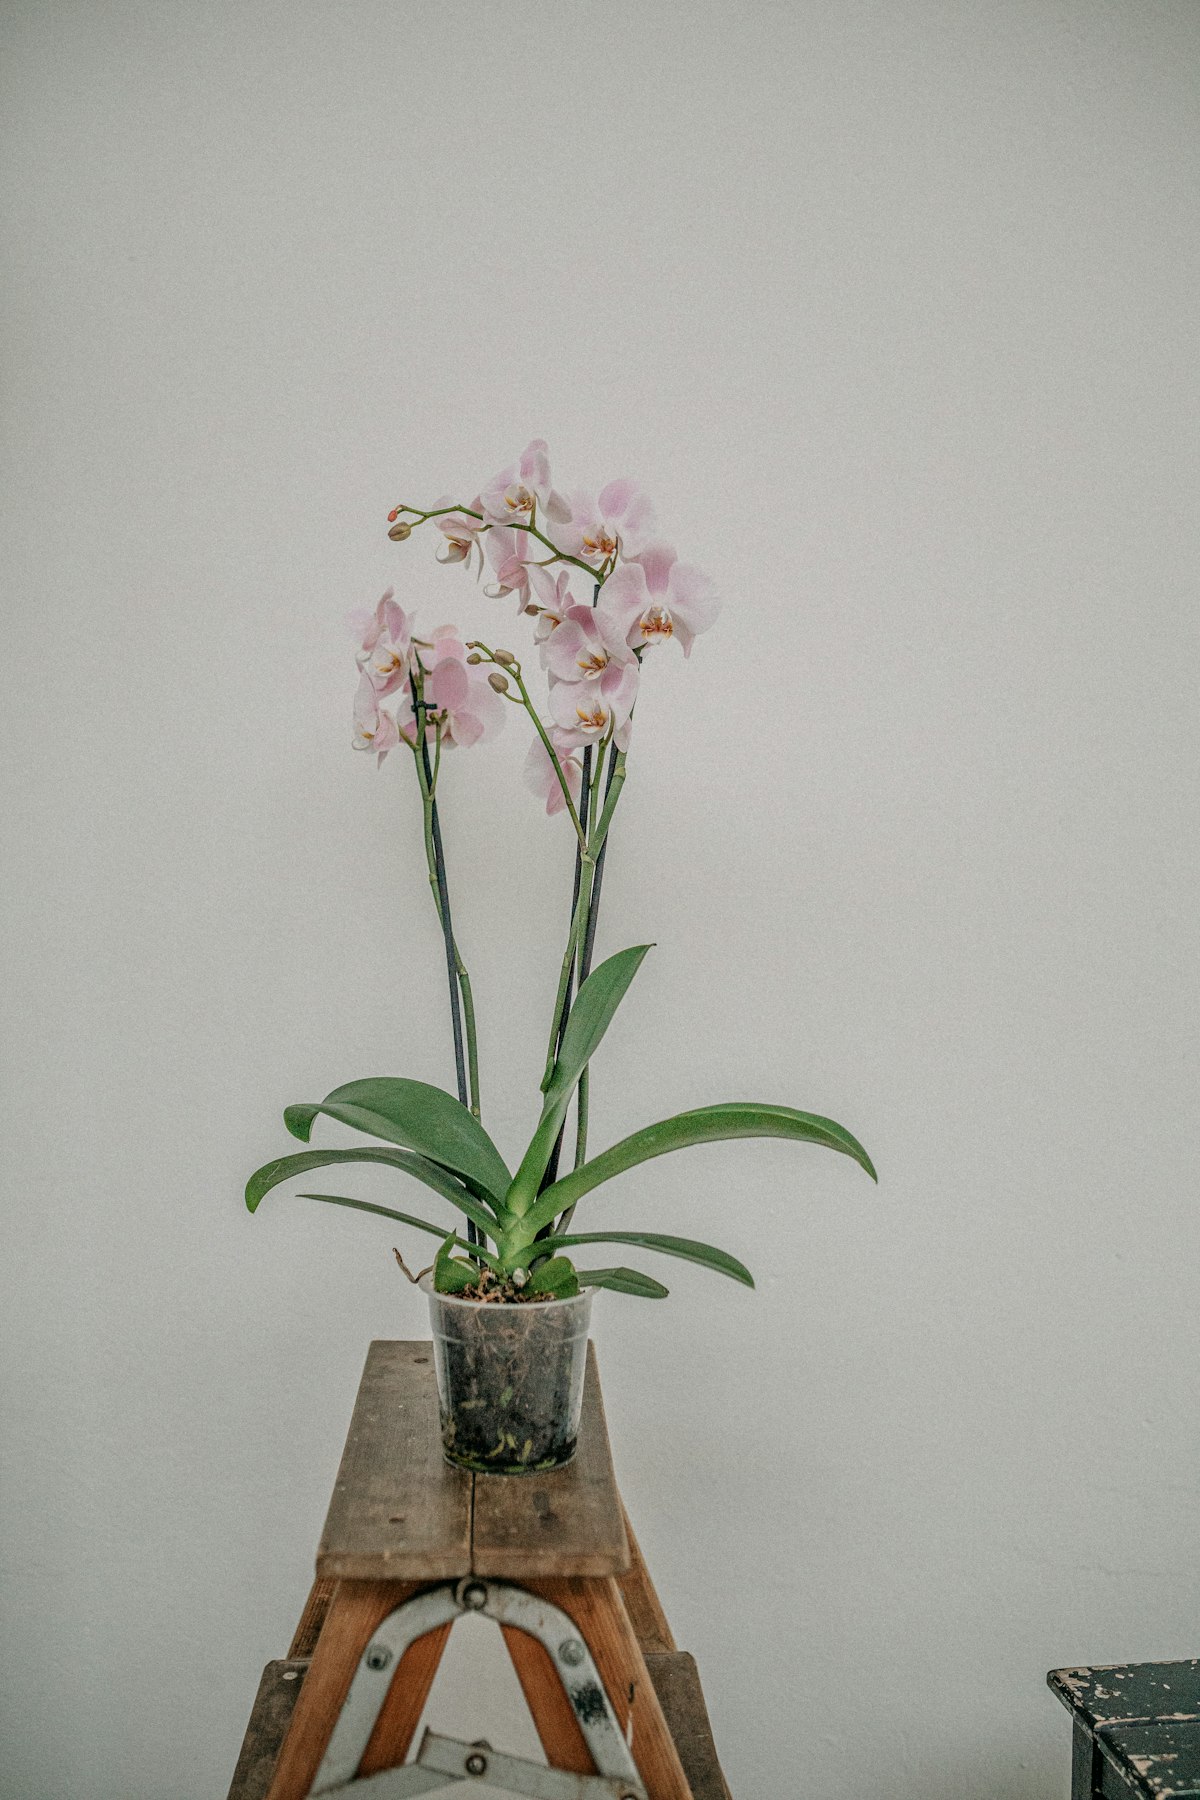
A note on pots: orchids genuinely prefer transparent pots because their roots photosynthesise. Clear plastic is ideal. If you’re going into a decorative outer pot, just make sure there’s drainage.
How to Repot an Orchid: Step by Step
- Water your orchid the day before. Hydrated roots are less brittle and much easier to work with.
- Gently tip the orchid out of its old pot. If it’s stuck, squeeze the sides or run a knife around the inner edge.
- Shake off the old bark. Most of it will fall away — don’t force it.
- Inspect the roots. Healthy roots are firm and silvery-white or green. Dead roots are brown, hollow, and mushy. Cut those off with clean scissors. Don’t be precious about it.
- Let the trimmed roots air dry for 20–30 minutes before repotting. This helps prevent rot.
- Add a layer of fresh orchid bark to the bottom of the new pot.
- Position your orchid and fill in around the roots with bark, pressing it in gently so the plant sits stable.
- Give it a good drink, then leave it somewhere bright but out of direct sun.
That’s it. You’ve done it. You repotted an orchid and the world didn’t end.
What About Those Aerial Roots?
The roots dangling outside the pot aren’t a cry for help — they’re completely normal. Aerial roots absorb moisture from the air. Don’t shove them into the pot (you’ll break them) and definitely don’t cut them off unless they’re visibly dead.
If they bother you aesthetically, tuck them loosely against the outside of the pot. They’ll cope.
After Repotting: What to Expect
Your orchid may go quiet for a few weeks after repotting — some drooping, no new growth. This is completely normal; it’s settling in, not sulking. Keep it watered (but not waterlogged), keep it in bright indirect light, and wait.
New leaf growth usually appears within 4–8 weeks. A flower spike typically follows 3–6 months after that. Worth the wait.
More Repotting Guides
- How to Repot Succulents (They’re Tougher Than They Look)
- How to Repot House Plants: The Complete Guide
The Shortcut: Pre-Filled Cutie Pots
If you’re repotting and fancy a fresh setup that looks as good as your orchid does, our pre-filled Cutie Pots come ready to go — the right growing medium already sorted. No measuring bark, no wondering if you’ve got the mix right. Just pot, plant, done.